

Views: 0 Author: Site Editor Publish Time: 2026-09-29 Origin: Site


Plumbers and technicians face unpredictable challenges underground every day. Using a mismatched camera head or push rod creates severe operational risks. You compromise visibility, snap expensive cables, or get equipment hopelessly stuck in tight P-traps. The stakes remain high for any service business. Choosing the correct diagnostic equipment directly impacts your first-time fix rates. It improves bidding accuracy and helps you avoid costly excavations to recover lodged tools.
We developed this systematic framework to help you evaluate camera heads, push rod dynamics, and centering accessories. You will learn how to match these crucial elements to the specific pipe diameters your crew services most. By understanding the physical constraints of different pipe sizes, you can build a highly versatile toolkit. Selecting the right gear minimizes downtime and maximizes diagnostic precision in the field.
Diameter Dictates Rigidity: Small residential lines require highly flexible push rods, while commercial mains demand stiffer, thicker rods to prevent coiling over long distances.
Illumination Doesn't Scale Linearly: A standard camera head will not adequately illuminate pipes over 6 inches without specialized skids and auxiliary lighting.
Self-Leveling is Non-Negotiable for Mid-to-Large Pipes: Accurate defect location in lines 3 inches and larger requires self-leveling heads to establish spatial orientation.
Total Cost of Ownership (TCO) Matters: Initial purchase price is secondary to field-repairability, software compliance, and warranty terms.
Many contractors fall victim to the "one-size-fits-all" myth. They attempt to push a standard 1.5-inch camera head through both 2-inch residential drains and 8-inch municipal mains. This approach inevitably fails. When you force standard equipment into extreme environments, you invite mechanical failures and misdiagnoses. A robust sewer inspection camera must align with the specific physics of the pipe it navigates.
Visibility degradation presents a massive hurdle in oversized pipes. Standard LED rings provide excellent illumination in 3-inch lines. However, when you drop that same head into an 8-inch main, the excessive diameter diffuses the light entirely. The lens captures only a dark void. This lighting failure leads crews to miss critical hairline fractures, subtle root intrusions, or offset joints. Poor lighting compromises the entire diagnostic process.
Navigational hazards also multiply when you use the wrong push rod. Navigating sharp 90-degree bends requires precise flexibility. If you use a stiff rod in a small, winding pipe, you risk snapping the fiberglass core. Conversely, pushing a highly flexible cable down a straight, wide municipal main creates folding risks. The cable lacks the appropriate stiffness-to-flexibility ratio for the pipe's internal diameter, causing it to buckle and lodge tightly against the pipe walls.
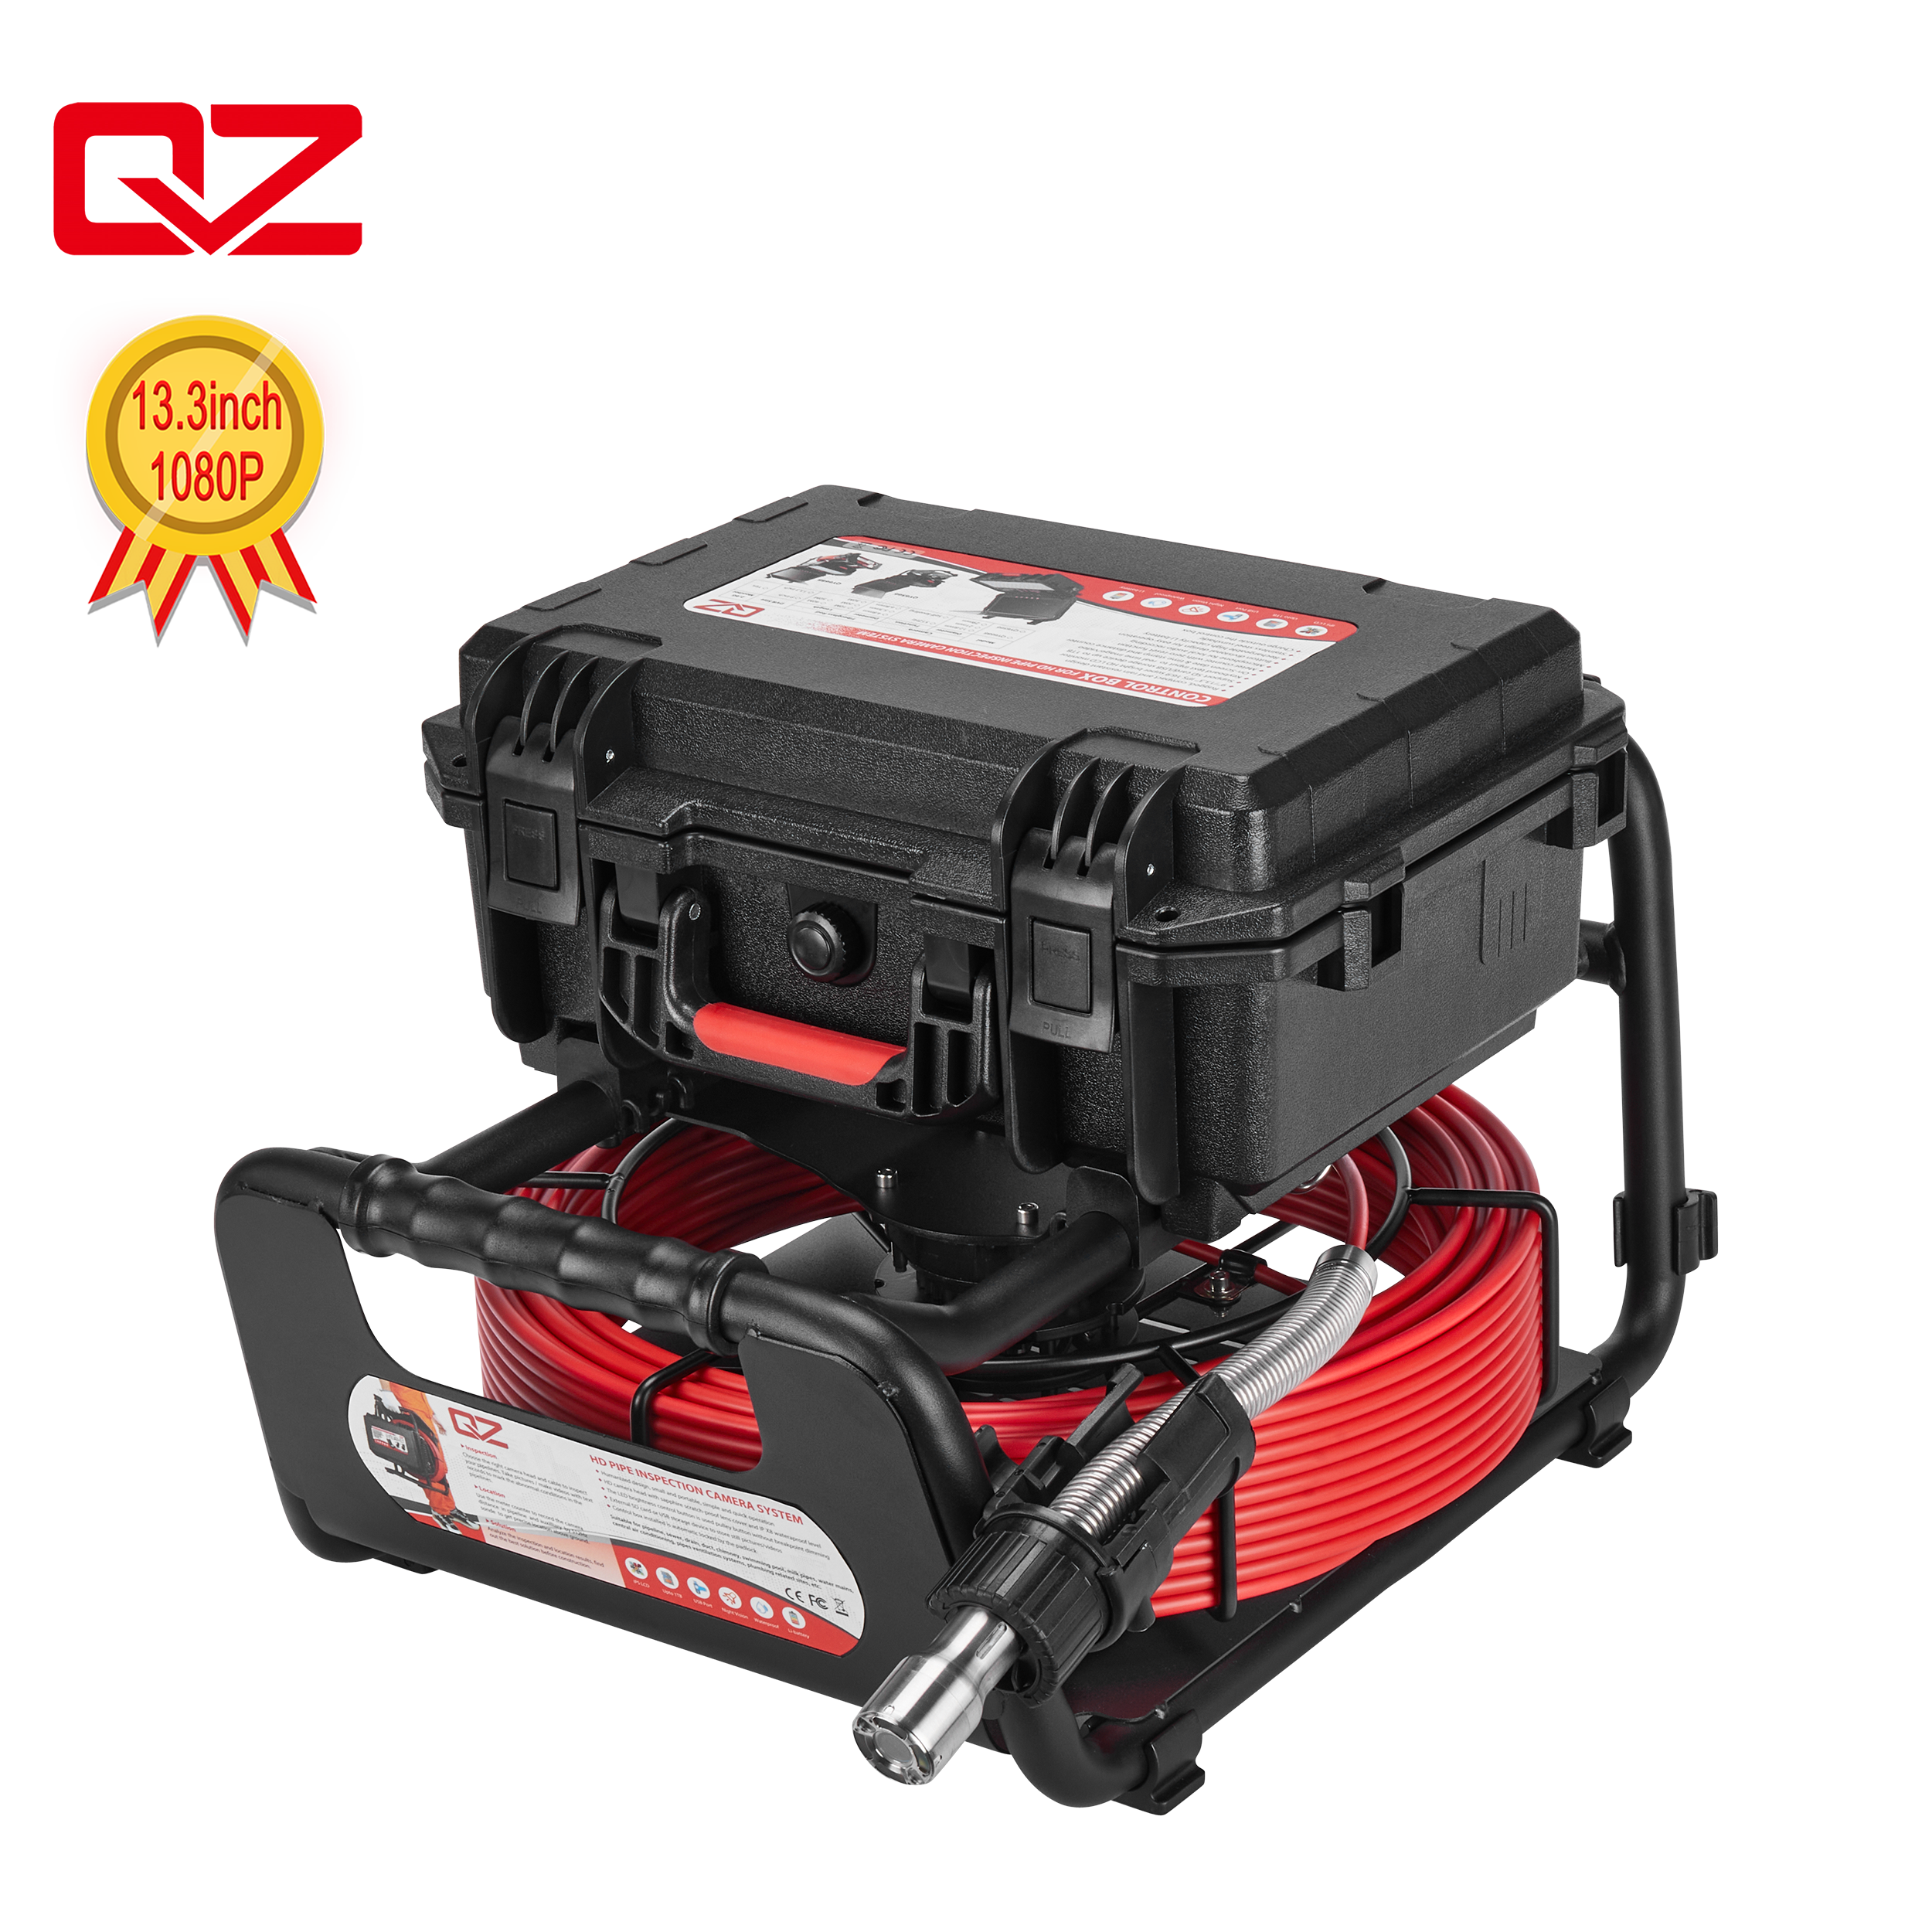
Table 1: Camera Head Specifications by Pipe Diameter
Pipe Size Range | Camera Head Size | Key Features Needed | Primary Trade-off |
|---|---|---|---|
1.5” to 3” (Small) | Under 1 inch (25mm) | Micro-head, extreme agility | Lacks self-leveling and high illumination |
3” to 6” (Standard) | 1.2” to 1.5” | Self-leveling, built-in 512Hz sonde | Requires skids to elevate lens |
6” to 12”+ (Large) | Pan-and-tilt or Crawler | Auxiliary lighting, articulation | Reduced portability, higher complexity |
Small diameter lines represent the tightest operational environments. Your ideal use cases here include residential sinks, shower drains, and restricted P-traps. These applications require specialized hardware, specifically micro-camera heads typically measuring under 1 inch (25mm) in diameter. The small footprint allows the head to navigate severe bends without jamming.
Operating in this category requires distinct trade-offs. You must sacrifice self-leveling features because the mechanical gimbals cannot fit inside a micro-head casing. You also lose high-output lighting capabilities. However, you gain maximum cornering agility. This agility ensures you can inspect twisted indoor plumbing networks without breaching pipe walls or snapping cables.
Standard lines form the bulk of daily service calls. The ideal use case covers main house-to-street sewer laterals. Plumbers typically rely on a high-quality pipe inspection camera here. Hardware requirements include a standard head size ranging from 1.2 to 1.5 inches. You also need a built-in 512Hz sonde for surface locating. Self-leveling capabilities become mandatory at this size to maintain proper top-to-bottom orientation on the monitor.
The introduction of standard skids becomes a key accessory requirement. Resting water and bottom debris obscure the lens if it drags along the pipe invert. Skids elevate the camera head, centering it in the pipe to provide a clear, unobstructed 360-degree view of the pipe walls.
Municipal infrastructure and commercial mains demand heavy-duty solutions. The ideal use case involves inspecting vast underground networks where standard push cameras fail. Hardware requirements shift toward pan-and-tilt camera heads, high-lumen auxiliary lighting arrays, or fully motorized crawler systems.
Your primary evaluation metric should focus on focal length adjustability. You also need the ability to articulate the lens. Pan-and-tilt functions allow you to pause the camera, turn the lens 90 degrees, and inspect incoming lateral joints thoroughly. Standard fixed-forward heads miss these critical junction details.
The golden rule of push cables remains absolute: as pipe diameter and inspection length increase, rod gauge must thicken. You need this added thickness to provide necessary pushing leverage. Thin rods absorb your pushing force by bending. Thick rods transfer that force directly to the camera head, propelling it forward.
Material composition separates professional gear from amateur tools. You must assess the fiberglass core quality and the outer jacketing. Premium rods utilize woven Kevlar jacketing over a dense fiberglass core. This combination ensures maximum abrasion resistance against jagged cast iron edges while retaining optimal stiffness.
The "coiling effect" destroys productivity. If you use a thin, flexible rod inside a wide 8-inch pipe, the cable will loop back on itself. Instead of advancing the camera head, your pushing motion simply coils the cable inside the pipe, much like a spring. This coiling risks snapping the rod when you attempt to retract it.
Modern crews solve this by using interchangeable drums. Evaluating a professional plumbing camera system often reveals modular designs. These systems allow operators to swap reels on the fly. You can switch between a micro reel for a kitchen sink and a stiff reel for a street lateral while using the exact same monitor and software hub. This versatility dramatically improves field efficiency.
Centering skids and guides fundamentally alter camera performance. Wheeled or brush skids adapt a smaller camera head for use in larger pipes. They physically expand the camera's footprint. This adaptation maintains a dead-center view, prevents the lens from scraping against abrasive pipe walls, and keeps the LED lights equidistant from all sides for even illumination.
Sonde integration is another critical feature for field diagnostics. You must verify that the camera includes an integrated 512Hz transmitter. Some modern units offer multi-frequency options. These transmitters emit a signal through concrete, clay, and earth. Plumbers use surface locators to pinpoint the exact depth and location of the camera head, eliminating guesswork before digging.
Lens durability requires non-negotiable standards. You must insist on sapphire crystal lenses. Standard glass or plastic lenses scratch immediately upon contact with cast iron or clay pipes. Sapphire crystal withstands continuous abrasion, ensuring your video feed remains crystal clear after hundreds of inspections.
Reporting software elevates your service from basic recording to professional compliance. A reliable drain inspection camera should capture more than just raw video. Shift your focus toward compliance-ready reporting. Look for systems supporting PACP standards, featuring on-screen distance counters, and offering seamless cloud sharing. Sending a polished, annotated video report via a cloud link builds immense trust with your clients.
Choosing between modular and fixed systems dictates your future downtime. Modular systems offer distinct field advantages. If a technician snaps a push cable or shatters a camera head, modular designs allow you to swap the damaged component right in the field. Fixed systems force you to ship the entire unit back to the manufacturer, leaving your crew without an inspection tool for weeks.
Maintenance realities catch many business owners off guard. You must factor in the frequent replacement of consumable parts. Camera domes, rubber O-rings, and skid sets wear out naturally. Establish a proactive maintenance schedule to replace these items before they fail. A compromised O-ring allows water ingress, which instantly destroys internal electronics.
Warranty traps frequently frustrate equipment buyers. You must carefully read the manufacturer's fine print. Understand the difference between "wear and tear" clauses and genuine defect coverage. Many warranties specifically exclude push rod kinks or lens scratches, categorizing them as operator error. Look for vendors offering transparent, robust coverage that acknowledges the harsh realities of plumbing environments.
Selecting the right equipment requires data-driven decision-making. Do not guess what your crew needs; analyze your operational history.
Conduct an Audit of Past Jobs: Look back at six months of invoices. Calculate the percentage of jobs categorized by pipe size. For example, you might discover your workload consists of 70% residential laterals and 30% tight interior drains. This data dictates your required reel sizes.
Evaluate the Vendor: Prioritize vendors who offer local repair hubs. Accessible replacement parts and loaner programs prevent catastrophic downtime during your busy season.
Perform a Demo Test: Never buy based purely on a spec sheet. Insist on field-testing the camera in a challenging environment. Run it through a 4-inch cast iron pipe with multiple bends to verify the manufacturer's pushability and lighting claims.
Selecting the optimal camera equipment requires balancing pipe diameter constraints with push rod physics. No single camera conquers every pipe perfectly. Standard heads fail in micro-drains, and flexible rods coil hopelessly in municipal mains. Understanding these physical limitations allows you to equip your crew with the right tools for the right job, reducing equipment damage and improving diagnostic accuracy.
As an actionable next step, we recommend investing in a versatile central monitor hub compatible with multiple interchangeable reels. Purchasing one monitor hub alongside a micro reel and a standard stiff reel covers 95% of commercial and residential scenarios. This modular approach maximizes your capabilities while safeguarding your equipment against catastrophic field failures.
A: No. While skids can center a small camera in a larger pipe, a single unit fails across this size gap. A flexible rod required for a 2-inch pipe will simply coil inside an 8-inch main. Additionally, small camera LEDs cannot illuminate large pipes. A two-reel system offers vastly superior performance.
A: The functional limit typically maxes out around 200 to 300 feet. Pipe material, the number of sharp bends, and rod stiffness dictate the actual distance. Smooth PVC allows further travel, while rough cast iron creates drag. Eventually, friction overcomes the pushing force of the rod.
A: Yes, for lines 3 inches and larger. While micro-cameras lack them due to size constraints, self-leveling is critical for standard pipes. It keeps the image upright, ensuring you can accurately identify the spatial orientation of defects, root intrusions, and lateral junctions on your screen.
A: Skids physically elevate the lens above resting water and sludge. They protect the camera head from hard impacts and center the lighting array. This modification effectively allows a smaller camera head to operate clearly in a pipe 2 to 4 inches larger than its baseline design.


