

Views: 0 Author: Site Editor Publish Time: 2026-10-20 Origin: Site


Plumbing and NDT professionals face a high-stakes reality every day. Choosing the wrong camera head size often results in stuck equipment. You might pull up snapped push rods. Sometimes, you only capture poorly lit footage. These failures prevent you from identifying the core issue accurately. Selecting a pipe inspection camera is never just about video resolution. You must balance access opening limitations carefully against pipe diameter. You must also consider tight bend radii like P-traps and critical illumination needs.
Getting this balance wrong ruins your profitability. We created this article to solve this specific problem. We provide an evidence-based framework below. You will learn how to evaluate camera specifications effectively. Ultimately, you can match head sizes perfectly to your real-world inspection environments. You will avoid costly mistakes and improve your diagnostic accuracy.
Camera head size must be paired with matching push rod stiffness; a mismatched system limits the camera’s effective range and maneuverability.
Micro-cameras (5mm–9mm) easily navigate tight P-traps but sacrifice illumination and lack self-leveling capabilities.
Standard 2–3 inch residential pipes typically require a 13mm–25mm drain inspection camera for optimal focal length and bend navigation.
Mainline sewer inspections demand larger heads (28mm+) to house the powerful LEDs and sondes required for large-diameter visibility and surface locating.
Field professionals quickly learn how unforgiving underground pipes behave. Sending the wrong camera head into a compromised line creates immediate financial risks. You must understand these business impacts before purchasing new diagnostic equipment.
Oversized camera heads pose a massive liability in constricted pipes. Heavy scale buildup in older cast iron lines reduces the internal diameter significantly. Forcing a large camera into these narrow gaps leads directly to friction locking. Once a camera head becomes wedged, recovery becomes an expensive nightmare. Technicians often pull the cable too hard during panic. This snaps the push rod or rips the camera head completely off. You then face thousands of dollars in replacement costs. Sometimes you even have to dig up the customer's floor to retrieve your broken tool.
Undersized cameras create an entirely different problem in large municipal pipes. Small cameras fail to provide adequate lighting in wide, dark cavities. The resulting video feed looks grainy and underexposed. You will easily miss hairline fractures, minor root intrusions, or subtle pipe bellies. When you miss these defects, you give the customer a false sense of security. The pipe eventually fails. The customer calls you back angry. These false negatives damage your reputation and lead to unbillable warranty work.
Matching the right professional plumbing camera to your primary service type changes everything. If you primarily service residential drains, you need a highly agile system. If you inspect municipal mains, you need heavy-duty visibility. Using the proper size reduces your overall inspection time. You get clear images on the very first pass. Clear images allow you to quote repair jobs accurately. Accurate quotes convert more prospects into paying customers.
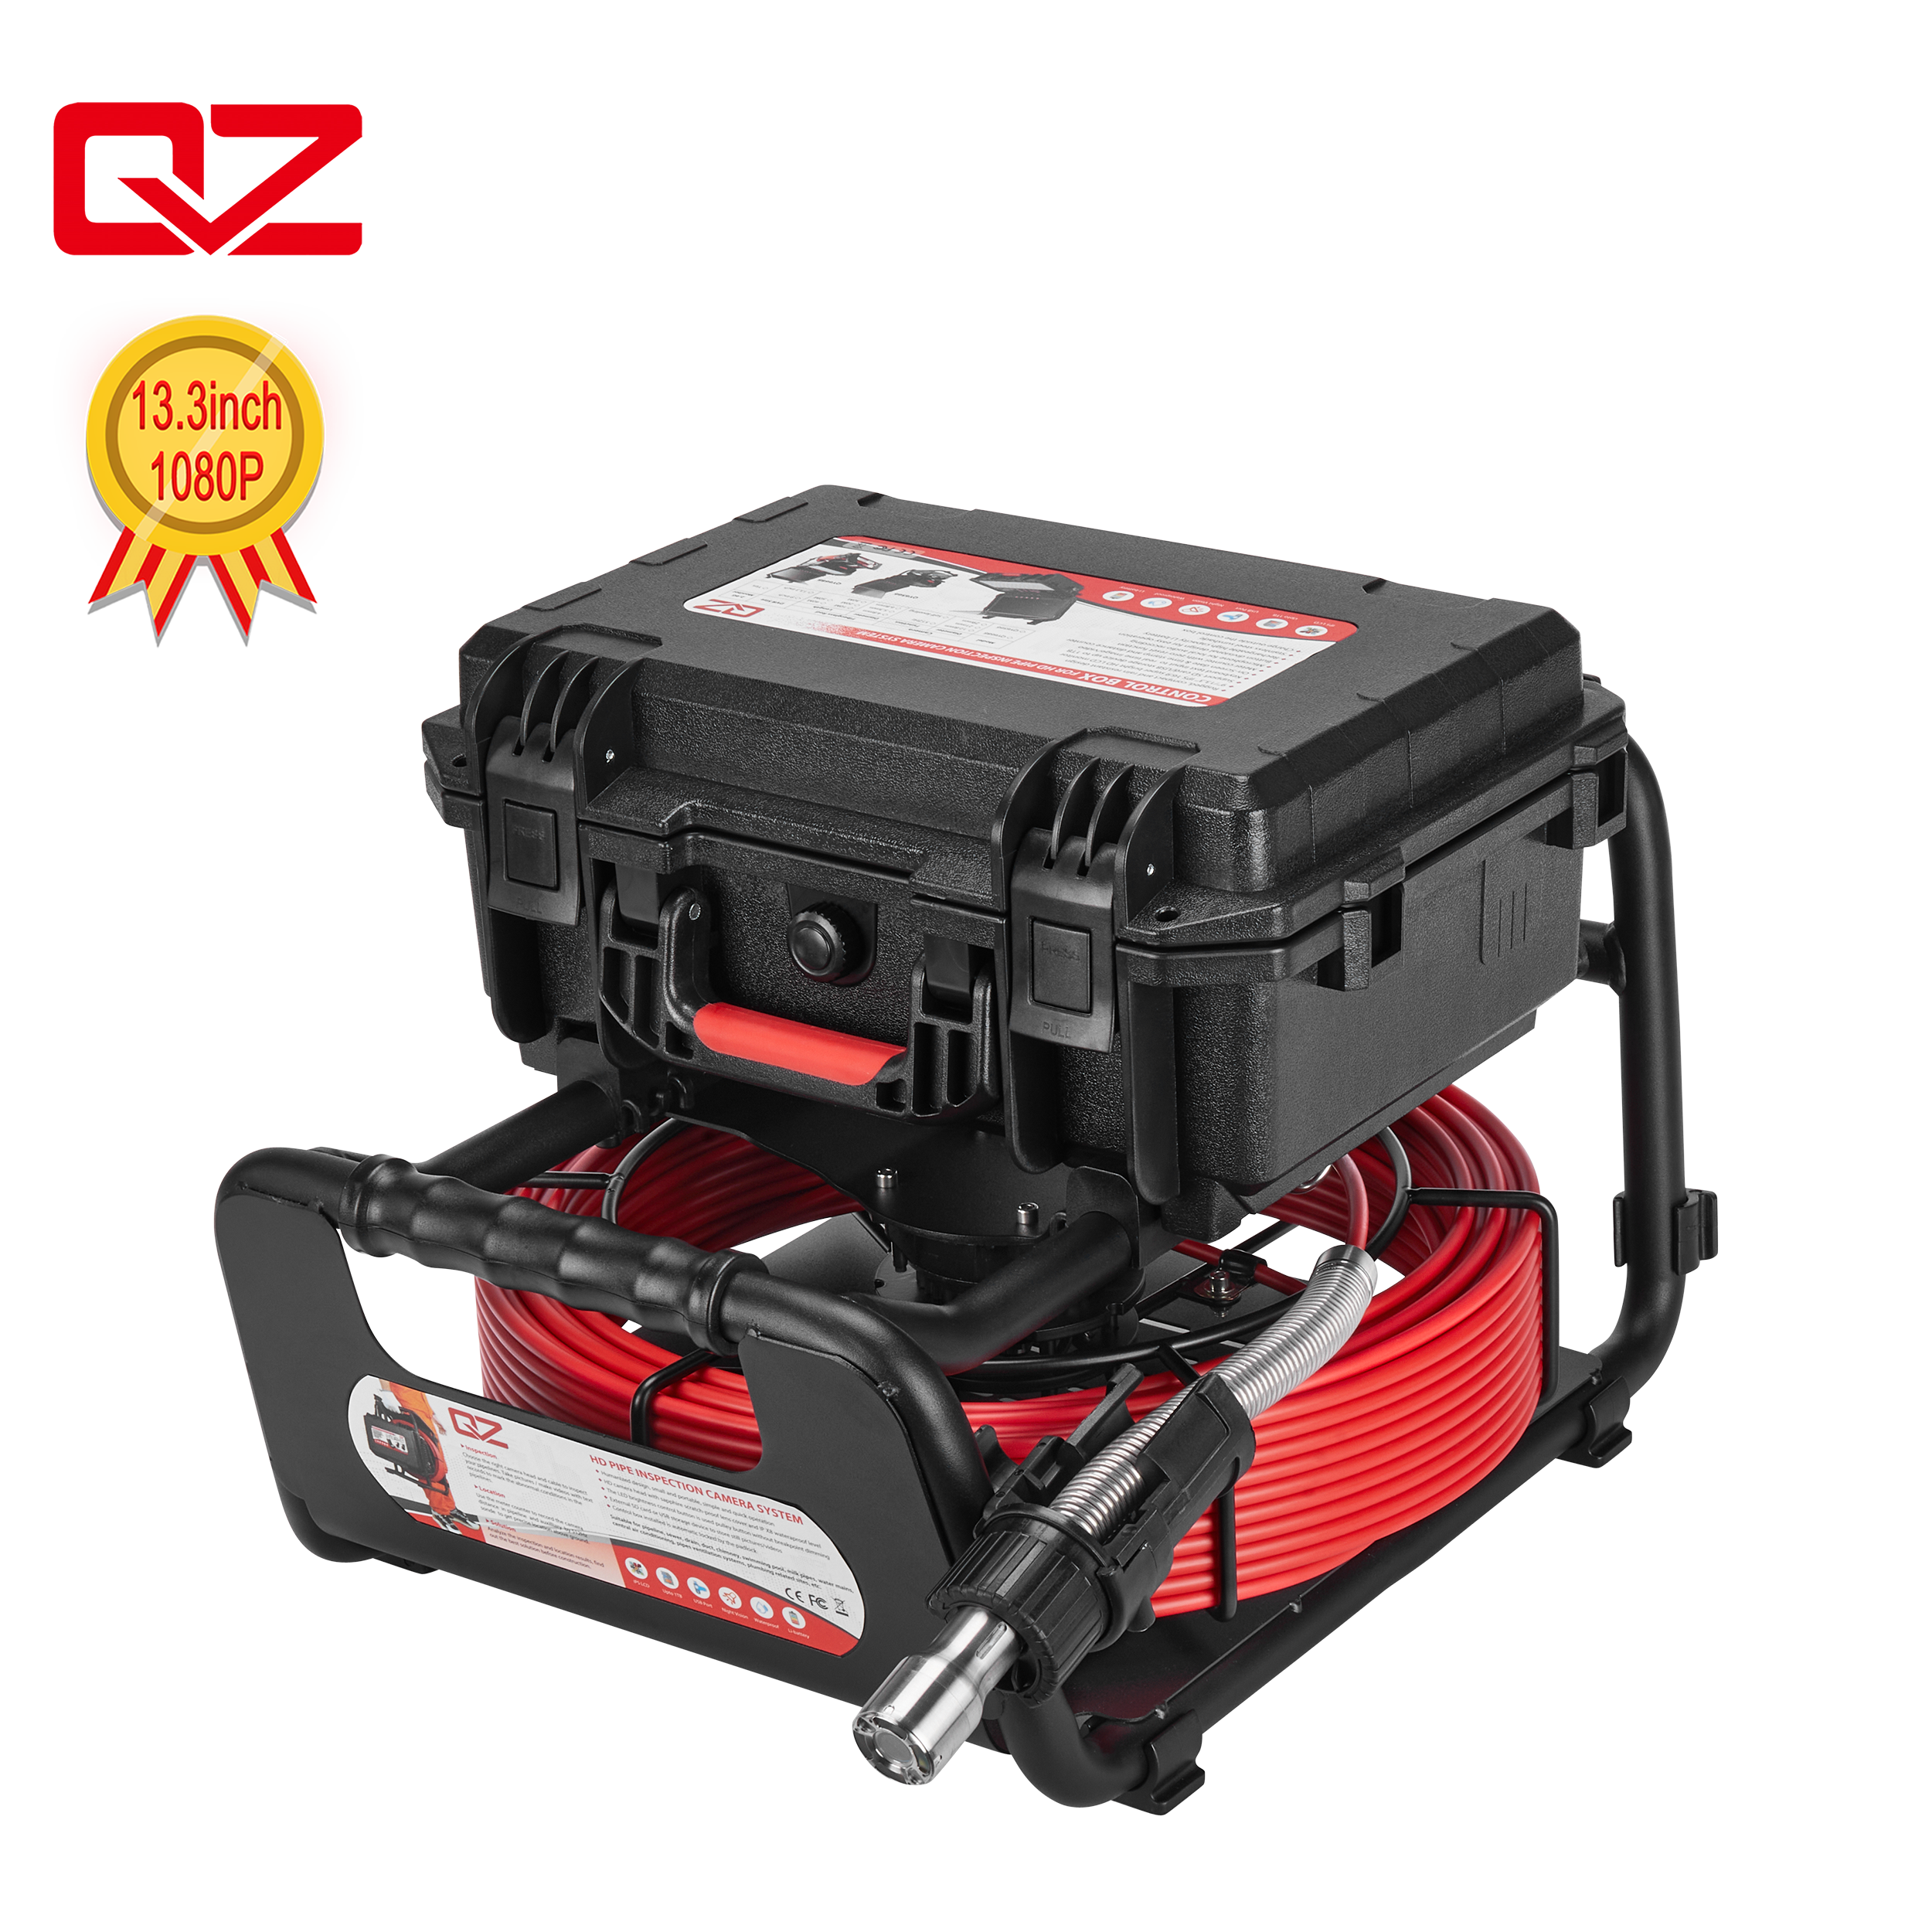
Camera head sizing follows a strict hierarchy. Manufacturers engineer specific millimeter dimensions for exact operational environments. We break down the three primary categories below to guide your selection process.
Camera Head Size to Pipe Diameter Reference Guide
Camera Category | Head Diameter (mm) | Ideal Pipe Size | Primary Applications |
|---|---|---|---|
Micro-Diameter | 5mm – 9mm | 1" – 1.5" | HVAC, pool plumbing, capillary tubes |
Standard / Mid-Range | 13mm – 25mm | 2" – 3" | Residential drains, branch lines, standard P-traps |
Large / Heavy-Duty | 28mm – 50mm+ | 4" – 8"+ | Municipal mains, large commercial sewer lines |
Micro-diameter cameras solve impossible access problems. They easily slip through narrow access points. You will find them highly effective for HVAC condensation lines. They also excel in capillary tubes and complex swimming pool plumbing. Plumbers frequently use them for narrow 1-inch to 1.5-inch PVC pipes.
However, micro-cameras bring strict technical limitations. They feature a much shorter focal length. Their miniature housings restrict LED light output severely. Furthermore, they pair with highly flexible but fragile push cables. You cannot push these delicate cables over long distances. They will fold over inside the pipe if they hit an obstruction.
This category represents the sweet spot for daily residential work. A drain inspection camera in this size range handles common 2-inch to 3-inch drain lines flawlessly. They navigate standard P-traps without getting wedged.
Mid-range heads strike the best possible balance. They offer enough flexibility to turn corners. Simultaneously, they house larger sensors for excellent image clarity. Most cameras in this tier include a built-in 512Hz sonde. This sonde allows you to locate the camera head precisely from above ground. You can pinpoint the exact spot for a trenchless repair.
Municipal and commercial jobs demand heavy-duty equipment. Large camera heads thrive in 4-inch to 8-inch mainlines. They possess the physical volume necessary for advanced electronics.
These larger housings fit high-output LED arrays. They also accommodate mechanical self-leveling gyroscopes. Because they are heavy, they require rigid fiberglass push rods. Some ultra-large models integrate onto motorized crawlers rather than push cables. You deploy these robust heads when visibility over long distances is your top priority.
Every camera size decision requires a technical compromise. You cannot have ultimate navigability alongside ultimate visibility. The laws of physics dictate how these optical systems perform underground.
Light degrades rapidly in dark, wet environments. Water absorbs and scatters LED illumination. A 7mm camera physically lacks the surface area to house powerful diodes. It cannot emit the lumens required to inspect a 4-inch pipe. If you use a tiny head in a large pipe, the light simply vanishes into the darkness. You end up viewing a tiny illuminated circle surrounded by pitch black. Larger heads contain massive LED rings. They punch through the gloom and light up the entire pipe circumference clearly.
Upright video feeds make defect identification much easier. Self-leveling technology keeps the picture oriented correctly as the camera twists. However, self-leveling relies on internal gravity bearings. These mechanical bearings require physical space to rotate freely.
Buyers must accept mechanical reality. Ultra-small camera heads cannot offer upright, self-leveling orientation. They simply lack the internal volume. If you demand a self-leveling feature, you must scale up to a larger diameter head.
Lens design determines how close the camera must sit to the pipe wall. Dome shapes and lens sizes dictate the optimal focal point. Small cameras have a short depth of field. They need to sit very close to the target to maintain sharp focus. Larger cameras utilize wider FOV lenses. They capture the entire pipe interior from a centered position. If a small camera floats aimlessly in a large pipe, the walls remain permanently blurry.
Best Practices for Visibility:
Always wipe the sapphire lens clean before deployment to maximize light transmission.
Use camera centering skids in larger pipes to keep the lens away from bottom sludge.
Dim the LEDs slightly in highly reflective PVC pipes to reduce glare and image blowout.
You cannot evaluate a camera head in isolation. The camera head and the push rod operate as a unified system. Ignoring the push rod dynamics will render your expensive camera useless.
A camera head requires a delivery mechanism. The push rod pushes the head through the debris. You must match the rod stiffness to the head size perfectly. If you attach a micro-head to a rigid rod, it will not make corners. The rod will force the tiny head straight into the pipe wall. Conversely, a heavy head on a flexible rod creates an impossible pushing situation. The flexible rod will buckle and fold on itself inside the pipe. This mismatched synergy stops your inspection immediately.
Real-world entry points restrict your equipment choices heavily. You rarely get an open, cleanly cut pipe to enter. Professionals must navigate tight pre-existing structures. You must rely on specific millimeter sizing to bypass these bottlenecks.
Steps to Evaluate Access Points:
Measure the cleanout diameter before unpacking your reel.
Check the toilet flange size if you are pulling a toilet for access.
Assess roof vent angles; sharp 90-degree elbows restrict long, rigid camera heads.
Confirm the presence of internal backwater valves which might block larger camera heads completely.
You do not always need to buy multiple camera systems. Removable centering skids adapt smaller camera heads for larger pipes. A skid slides over the camera housing. It increases the overall diameter temporarily. This lifts the camera off the pipe floor. It keeps the lens out of the murky water. Skids maximize the return on investment for a single camera system. They offer incredible modularity for technicians who encounter varying pipe sizes daily.
The marketplace offers hundreds of configurations. You need a logical method to narrow down your options. Follow these final decision criteria to choose a reliable workhorse for your daily operations.
Do not guess what you need. Let your own business data guide your purchase. Analyze your last six months of completed jobs. Look at the invoices. Identify the most common pipe diameters you serviced.
If 80% of your jobs involve residential 2-3 inch pipes, you have a clear answer. You should prioritize a 23mm–25mm sewer inspection camera. Do not buy a massive mainline crawler if you rarely service municipal lines. Buy the tool that handles your daily bread-and-butter work.
Your business will grow. You might take on larger commercial jobs next year. You should evaluate whether the manufacturer allows interchangeable camera heads. Some systems let you swap a 23mm head for a 14mm head on the same monitor setup. This modularity handles varying pipe diameters beautifully. You avoid buying a completely new monitor and reel system. Future-proofing your equipment saves substantial capital over five years.
Underground environments destroy electronics eventually. Camera heads are high-wear components. They smash into rocks, scrape against cast iron, and submerge in corrosive fluids. You must assess the manufacturer's replacement costs. Look closely at their repair turnaround times.
Common Mistakes: Buying cheap, proprietary systems often results in zero repairability. When the head breaks, you must throw the entire unit away. Always choose manufacturers who stock replacement springs, lenses, and LED rings locally.
Choosing the right camera head size dictates your success in the field. You must match the camera size directly to the most common pipe diameter you service. Scale up with centering skids when necessary, and never ignore push rod compatibility. System synergy matters just as much as optical resolution.
We encourage you to take the next step confidently. Reach out to manufacturers and request a physical demo. Demand to review raw, unedited footage from the specific camera head sizes you are evaluating. Seeing real-world video performance helps you finalize your decision before purchasing.
A: The ideal size falls in the 13mm to 25mm range. This sweet spot provides enough flexibility to navigate residential bends. It also houses enough LEDs to maintain excellent light output for clear diagnostics.
A: Yes, it generally can. However, success depends heavily on the pipe material and internal condition. It also relies completely on the accompanying push rod flexibility. A rigid rod will prevent a 23mm head from passing through tight PVC traps.
A: Small cameras feature very short focal lengths. They also suffer from severe LED light dispersion in wider cavities. When placed in a large pipe, the lens cannot focus properly on distant walls, and the weak lights fail to illuminate the space.
A: They are surprisingly durable. Reputable models use strong sapphire glass lenses and stainless steel housings. Typically, the weak point is the flexible spring or connector behind the head, not the camera module itself.


